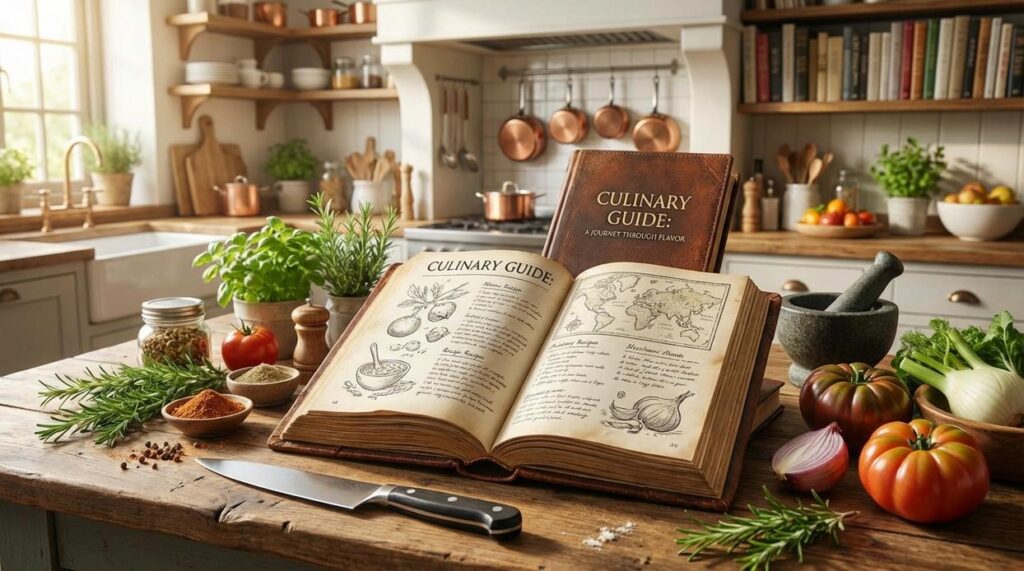
If you’ve been searching for a practical, no-nonsense knife sharpening guide, you’re likely tired of dull blades slowing you down in the kitchen. Whether you’re slicing herbs, breaking down proteins, or prepping vegetables, a sharp knife isn’t just about precision—it’s about safety, efficiency, and enjoying the cooking process.
This article is designed to give you exactly what you’re looking for: clear, step-by-step guidance on how to sharpen your knives properly, the tools you actually need, and the common mistakes that can ruin a blade. We focus on techniques that work for home cooks and culinary enthusiasts alike, cutting through the confusion around whetstones, honing rods, and pull-through sharpeners.
Our content draws on proven kitchen practices, hands-on testing, and insights from professional culinary standards to ensure accuracy and reliability. By the end, you’ll know how to restore your knife’s edge—and keep it that way.
Sharpening vs. Honing: What’s the Real Difference?
I used to think sharpening and honing were basically the same thing. I was wrong—and my knives paid the price.
Sharpening removes metal to create a brand-new edge. You’re grinding away steel to form a fresh bevel. It’s blade surgery—serious, corrective work that should only happen occasionally. Do it too often, and you’ll shorten your knife’s lifespan (lesson learned the hard way).
Honing, on the other hand, doesn’t remove metal. It realigns the microscopic edge that bends during regular use. Think of it as daily physical therapy. A few light passes before cooking keep the edge straight and effective.
If your knife slips on tomato skin or crushes herbs instead of slicing cleanly, it needs sharpening. If it’s cutting fine but feels slightly off, honing will usually fix it.
Pro tip: follow a reliable knife sharpening guide and hone frequently—your future self, and your onions, will thank you.
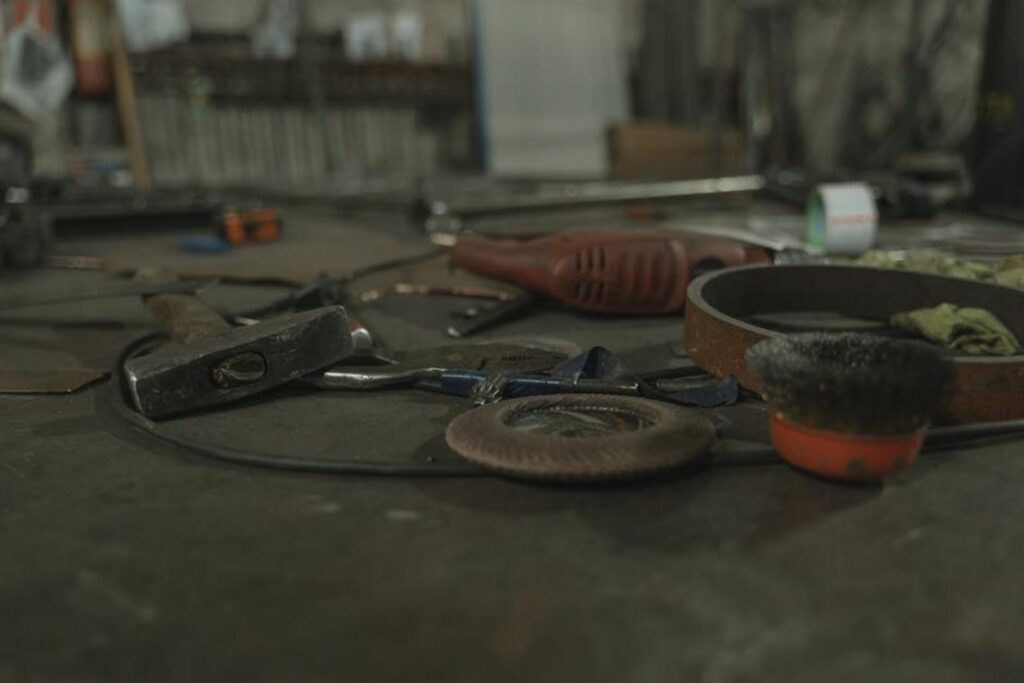
Gathering Your Tools: From Whetstones to Guides
Think of sharpening a knife like tuning a guitar: the right tools determine whether you get sweet music or a jarring twang. First and foremost, whetstones (also called water stones) are the gold standard. They come in different grits:
- Coarse (200–600 grit): Repairs chips and reshapes dull edges.
- Medium (800–1000 grit): Refines the edge for everyday sharpness.
- Fine/Polishing (3000–8000 grit): Polishes to razor precision.
For most home cooks, a 1000/6000 combination stone is the ideal starting point—practical, versatile, and cost-effective (like a chef’s knife of sharpening tools).
Meanwhile, electric sharpeners offer convenience but sacrifice control. Pull-through sharpeners are easy to use; however, they remove metal aggressively, which can shorten a knife’s lifespan. Some argue speed matters most. Fair—but precision keeps your blade healthier long term.
Equally important are accessories. A stone holder or even a damp towel prevents slipping. An angle guide helps beginners stay consistent—training wheels for your knife sharpening guide journey.
Finally, the honing steel isn’t a sharpener. Instead, it realigns the blade’s edge between sharpenings. Think of it as daily maintenance—like using smart food storage tips to reduce waste to keep ingredients fresher longer: https://jalbiteblog.com.co/smart-food-storage-tips-to-reduce-waste/.
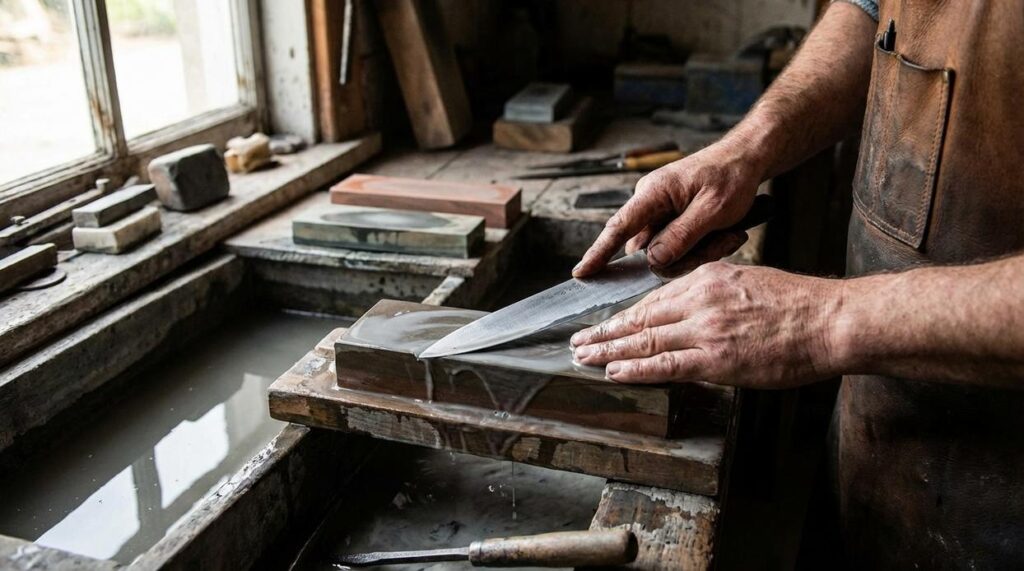
The Art of the Angle: A Step-by-Step Whetstone Guide
Sharpening a knife on a whetstone can feel intimidating at first—like the training montage in a samurai film where the hero finally masters the blade. However, once you understand the rhythm, it becomes almost meditative (and far less dramatic than Kill Bill).
-
Prepare Your Stone
First, soak your whetstone in water for about 5–10 minutes. You’ll know it’s ready when the bubbles stop rising. Those bubbles are trapped air escaping from the stone’s pores. In other words, you’re hydrating the stone so it can create the abrasive slurry needed to sharpen effectively. Skipping this step is like preheating an oven halfway—technically possible, but not ideal. -
Find Your Angle
Next, hold the blade at a 15–20 degree angle, which suits most kitchen knives. Not sure what that looks like? Try the “stack of coins” trick: place two coins under the spine for a visual guide. Or imagine a matchbook tucked beneath. Consistency matters more than perfection. (Pro tip: lock your wrist to maintain that angle.) -
The Sharpening Motion
Now place the heel of the blade on the stone and sweep it toward the tip, as if slicing a whisper-thin layer off the surface. Apply light, even pressure. Think smooth, not forceful—more lo-fi playlist, less heavy metal guitar solo. -
Raising a Burr
Eventually, you’ll feel a slight ridge on the opposite side of the edge. That’s the burr—a tiny fringe of metal that signals you’ve sharpened one side fully. Gently run your finger perpendicular to the edge to check. -
Flip and Repeat
Then flip the knife and repeat the motion until a burr forms on the other side. Patience here pays off. -
Refine and Polish
Afterward, switch to a finer grit stone. Use the same strokes but lighter pressure to polish the edge. -
Strop and Clean
Finally, strop on leather or even newspaper to remove the burr. Clean and dry everything thoroughly.
Follow this knife sharpening guide, and soon your blade will glide through tomatoes like a perfectly timed movie scene.
Common Mistakes and How to Avoid Them
Inconsistent Angle is the fastest way to dull progress. Studies from blade manufacturers like Wüsthof show most Western knives perform best at 14–20 degrees per side; drifting outside that range reduces edge retention. Use a knife sharpening guide until muscle memory forms (yes, it feels awkward at first).
Too Much Pressure chips edges and wears stones unevenly. According to Norton Abrasives, excessive force shortens stone lifespan significantly. The stone does the work.
Sharpening a Dirty Knife clogs pores with oil and debris, lowering abrasion efficiency.
Ignoring the Burr means you haven’t apexed the edge—no burr, no true sharpness.
Keep Your Knives Sharp and Your Cooking Effortless
You came here because dull knives are slowing you down, crushing delicate herbs, and turning simple prep into a frustrating chore. Now you understand why sharp blades matter, how proper maintenance protects your tools, and the simple techniques that keep every slice clean and precise.
A sharp knife isn’t just about efficiency — it’s about control, safety, and respecting the ingredients on your cutting board. When your blade glides instead of slips, you cook with more confidence and far less risk.
If you’re tired of struggling through tomatoes or wrestling with tough cuts of meat, it’s time to take action. Follow this knife sharpening guide step by step and make blade care part of your regular kitchen routine.
Thousands of passionate home cooks trust our expert-backed kitchen insights to level up their skills. Now it’s your turn. Grab your whetstone, hone your edge, and transform the way you cook — starting today.
 Thomason Perezanier is the kind of writer who genuinely cannot publish something without checking it twice. Maybe three times. They came to culinary pulse through years of hands-on work rather than theory, which means the things they writes about — Culinary Pulse, Cooking Hacks and Kitchen Tricks, Regional Taste Deep Dives, among other areas — are things they has actually tested, questioned, and revised opinions on more than once.
That shows in the work. Thomason's pieces tend to go a level deeper than most. Not in a way that becomes unreadable, but in a way that makes you realize you'd been missing something important. They has a habit of finding the detail that everybody else glosses over and making it the center of the story — which sounds simple, but takes a rare combination of curiosity and patience to pull off consistently. The writing never feels rushed. It feels like someone who sat with the subject long enough to actually understand it.
Outside of specific topics, what Thomason cares about most is whether the reader walks away with something useful. Not impressed. Not entertained. Useful. That's a harder bar to clear than it sounds, and they clears it more often than not — which is why readers tend to remember Thomason's articles long after they've forgotten the headline.
Thomason Perezanier is the kind of writer who genuinely cannot publish something without checking it twice. Maybe three times. They came to culinary pulse through years of hands-on work rather than theory, which means the things they writes about — Culinary Pulse, Cooking Hacks and Kitchen Tricks, Regional Taste Deep Dives, among other areas — are things they has actually tested, questioned, and revised opinions on more than once.
That shows in the work. Thomason's pieces tend to go a level deeper than most. Not in a way that becomes unreadable, but in a way that makes you realize you'd been missing something important. They has a habit of finding the detail that everybody else glosses over and making it the center of the story — which sounds simple, but takes a rare combination of curiosity and patience to pull off consistently. The writing never feels rushed. It feels like someone who sat with the subject long enough to actually understand it.
Outside of specific topics, what Thomason cares about most is whether the reader walks away with something useful. Not impressed. Not entertained. Useful. That's a harder bar to clear than it sounds, and they clears it more often than not — which is why readers tend to remember Thomason's articles long after they've forgotten the headline.